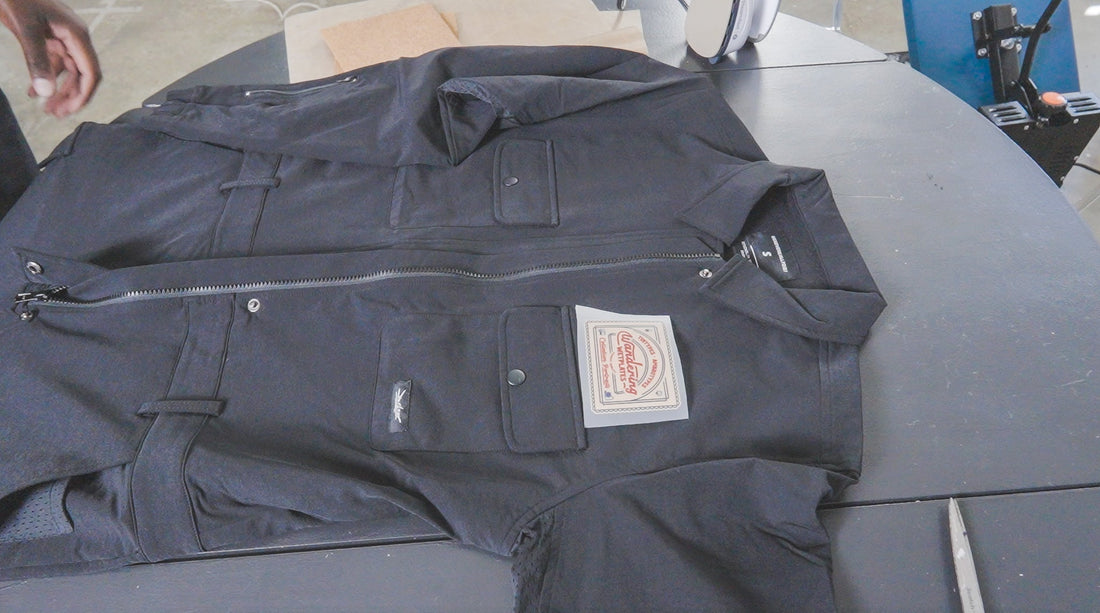
How to add the DTF graphics to you Coverall
Customizing your coveralls with a wearable DTF (Direct-to-Film) graphic is a fun and creative way to show off your style, rep your brand, or elevate your workwear. Even if you don’t have a heat press, you can get great results using a regular household iron—if you follow the right steps.
Here’s a step-by-step guide to help you apply your DTF transfer like a pro.
What You’ll Need:
- Your coveralls (clean and wrinkle-free)
- A wearable DTF transfer
- A household iron (no steam)
- A hard, flat ironing surface (avoid soft ironing boards)
- Teflon sheet or Parchment paper (Box sets come with a Teflon Sheet)
- A timer or your phone’s stopwatch
- Firm pressure (use body weight)
Step-by-Step Guide
1. Set Your Surface
Use a flat, heat-resistant surface like a countertop or table—not a soft ironing board. Place a towel underneath if needed for protection. Lay your coveralls flat, smoothing out wrinkles.
2. Set Your Iron
- Temperature: Set the iron to “Cotton” or 310–320°F (160–170°C)
- Steam OFF: Make sure the steam setting is turned off—dry heat only
Let the iron preheat for at least 3–5 minutes.
 3. Position the DTF Graphic
Place the DTF graphic film side up and design facing you. Position it exactly where you want it on your coveralls. (Once heat is applied, you can’t reposition.)
Optional: Tape corners with heat-resistant tape to keep it from shifting.

4. Cover with Parchment or Teflon Sheet
Place a parchment paper or Teflon sheet over the graphic to protect it from direct contact with the iron.

5. Apply Heat and Pressure
- Press firmly with the iron for 10–15 seconds in one spot. Use your body weight to apply consistent, strong pressure.
- Lift and move the iron to the next section—don’t slide it.
- Continue until the entire design area has been pressed.
⏱️ Total pressing time should be about 30–45 seconds for the full graphic.


6. Let It Cool (Cold Peel)
Wait for the graphic to cool completely (1–2 minutes) before peeling the film.
Then, peel the film slowly and evenly starting from one corner.
* If the graphic doesn't peel, you may need to press with the iron again and then wait a little longer before peeling.(Sometimes the glue is still hot and hasn't cools after being pressed)


7. Final Press (Recommended)
Place the parchment/Teflon back over the design and press again with the iron for another 10–15 seconds to seal the edges and boost durability.
- Use a firm surface—soft ones reduce pressure and lead to poor adhesion.
- If you want to keep you coverall clean, these DTF works best on cotton or cotton-blend fabrics so you can press a shirt that you rock with the coveralls.
- Avoid washing the coveralls for at least 24–48 hours after application.
- Wash inside-out in cold water to preserve the graphic long-term.